view
별점 CSS
/* 별점 스타일 */

             .star-rating {
            display: flex;
            flex-direction: row-reverse;
            font-size: 2.25rem;
            line-height: 2.5rem;
            justify-content: space-around;
            padding: 0 0.2em;
            text-align: center;
            width: 5em;
            }

            .star-rating input {
            display: none;
            }

            .star-rating label {
            -webkit-text-fill-color: transparent;
            -webkit-text-stroke-width: 2.3px;
            -webkit-text-stroke-color: #2b2a29;
            cursor: pointer;
            }

             .star-rating :checked ~ label {
            -webkit-text-fill-color: gold;
            }

            .star-rating label:hover,
            .star-rating label:hover ~ label {
            -webkit-text-fill-color: #fff58c;
            }
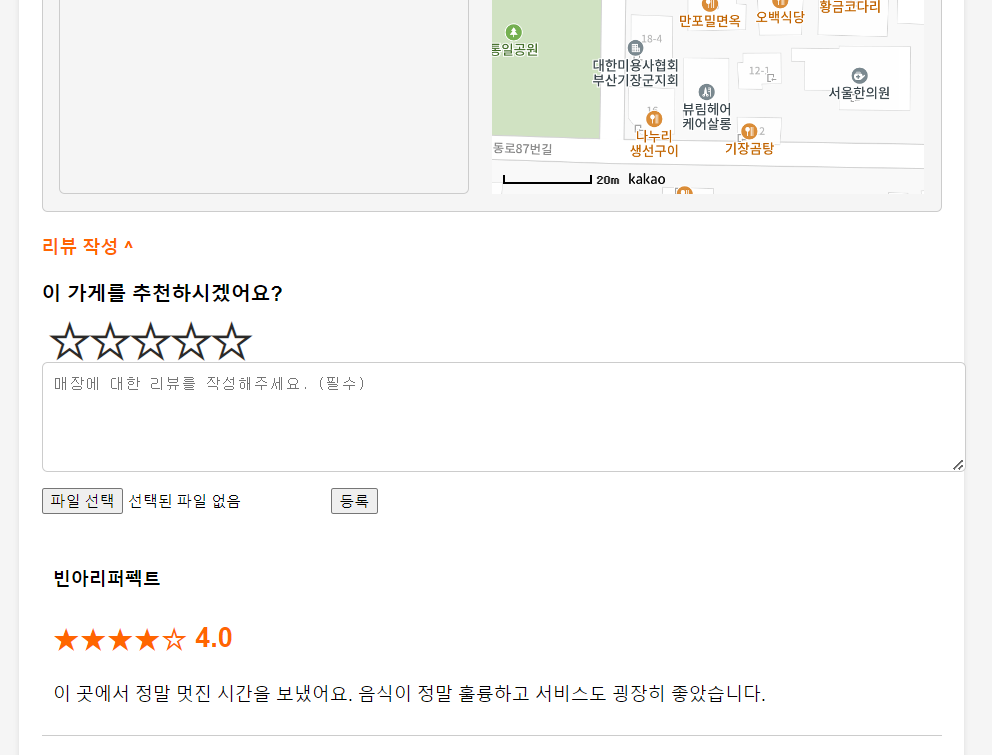
리뷰 작성 영역 구조
<div class="review-toggle" onclick="toggleReviewForm()">리뷰 작성 ^</div>
            <div class="review-form" id="reviewForm">
                <h3>이 가게를 추천하시겠어요?</h3>
                <!-- 별점 -->
                <div class="star-rating space-x-4 mx-auto">

                		<td><input name="ucSeq"  class="storeNo" type="hidden" value="${requestScope.s.ucSeq }" ></td>
                        <td><input name="userNo"  class="userNo" type="hidden" value="${sessionScope.loginUser.userNo }" ></td>
                        <input type="radio" id="5-stars" name="rating" value="5" v-model="ratings"/>
                        <label for="5-stars" class="star pr-4">★</label>


                        <input type="radio" id="4-stars" name="rating" value="4" v-model="ratings"/>
                        <label for="4-stars" class="star">★</label>


                        <input type="radio" id="3-stars" name="rating" value="3" v-model="ratings"/>
                        <label for="3-stars" class="star">★</label>


                        <input type="radio" id="2-stars" name="rating" value="2" v-model="ratings"/>
                        <label for="2-stars" class="star">★</label>


                        <input type="radio" id="1-star" name="rating" value="1" v-model="ratings" />
                        <label for="1-star" class="star">★</label>
                 </div>
                <textarea rows="5" name="reviewComment" placeholder="매장에 대한 리뷰를 작성해주세요. (필수)"></textarea>
                 <input type="file" class="upfile" name="upfile" id="imageInput" accept="image/*" />
                <button type="button" onclick="insertReview()">등록</button>
            </div>
리뷰 작성후 등록 버튼 클릭시 insertReview() 호출
insertReview() - js영역
function insertReview() {
	    var fileInput = $('.upfile')[0];
	    var formData = new FormData();

	    //별점 가져오기
	    var StringRating = $("input[name='rating']:checked").val();
	    var IntegerRating = parseInt(StringRating, 10); // 10진수로 변환

	    // 파일이 선택되었는지 확인하고 FormData에 파일 추가
	    if (fileInput.files.length > 0) {
	        formData.append("upfile", fileInput.files[0]);
	    }

	    // 다른 필드들도 FormData에 추가
	    formData.append("mainTitle", $('.storeName').val());
	    formData.append("userNo", $('.userNo').val());
	    formData.append("ucSeq", $('.storeNo').val());
	    formData.append("rating", IntegerRating );
	    formData.append("reviewComment",  $('textarea[name="reviewComment"]').val());

	    $.ajax({
	        url: 'reviewInsert.do',
	        method: "post",
	        data: formData,
	        enctype: 'multipart/form-data',
	        processData: false,
	        contentType: false,
	        success: function(result) {
	            alert('리뷰가 작성되었습니다.');
	             window.location.href = 'selectStoreDetail.do?ucSeq='+${requestScope.s.ucSeq};

	        },
	        error: function() {
	            console.log('실패');
	        }
	    });
	}
rating에 value = "1' 값은 String이므로 Vo와 DB에서 Rating 값은 int, NUMBER이므로 형변환을 해서 전송해야 한다.
FormData객체에 리뷰데이터를 담아서 ajax로 요청한다.
ReviewController
Controller에서는 ajax에서 formData로 보낸 data를 '커맨드 객체' 방식으로 받는다.
@ResponseBody
	@RequestMapping("reviewInsert.do")
	public String reviewInsert( Review r, MultipartFile upfile, HttpSession session, Model model) {

		if(upfile != null && !upfile.getOriginalFilename().isEmpty()) {

			String originName = upfile.getOriginalFilename();

			// "20221226103530"(년월일시분초)
			String currentTime = new SimpleDateFormat("yyyyMMddHHmmss").format(new Date());

			//12321(5자리 랜덤값)

			int ranNum = (int)(Math.random()*90000+10000);
			// 확장자
			String ext = originName.substring(originName.lastIndexOf("."));

			String changeName = currentTime + ranNum + ext;

			// 업로드 시키고자 하는 폴더의 물리적인 경로 알아내기
			String savePath = session.getServletContext().getRealPath("/resources/uploadFiles/");

			r.setFilePath(upfile.getOriginalFilename()); //원본명
			r.setChangeName("resources/uploadFiles/" + saveFile(upfile, session));
		}

		if(reviewService.insertReview(r)> 0) { //성공 => 해당 식당 정보 페이지
			return "success";

		} else {
			return "error";
		}
}'Spring' 카테고리의 다른 글
| [Spring] - 로그인 (0) | 2022.12.27 |
|---|